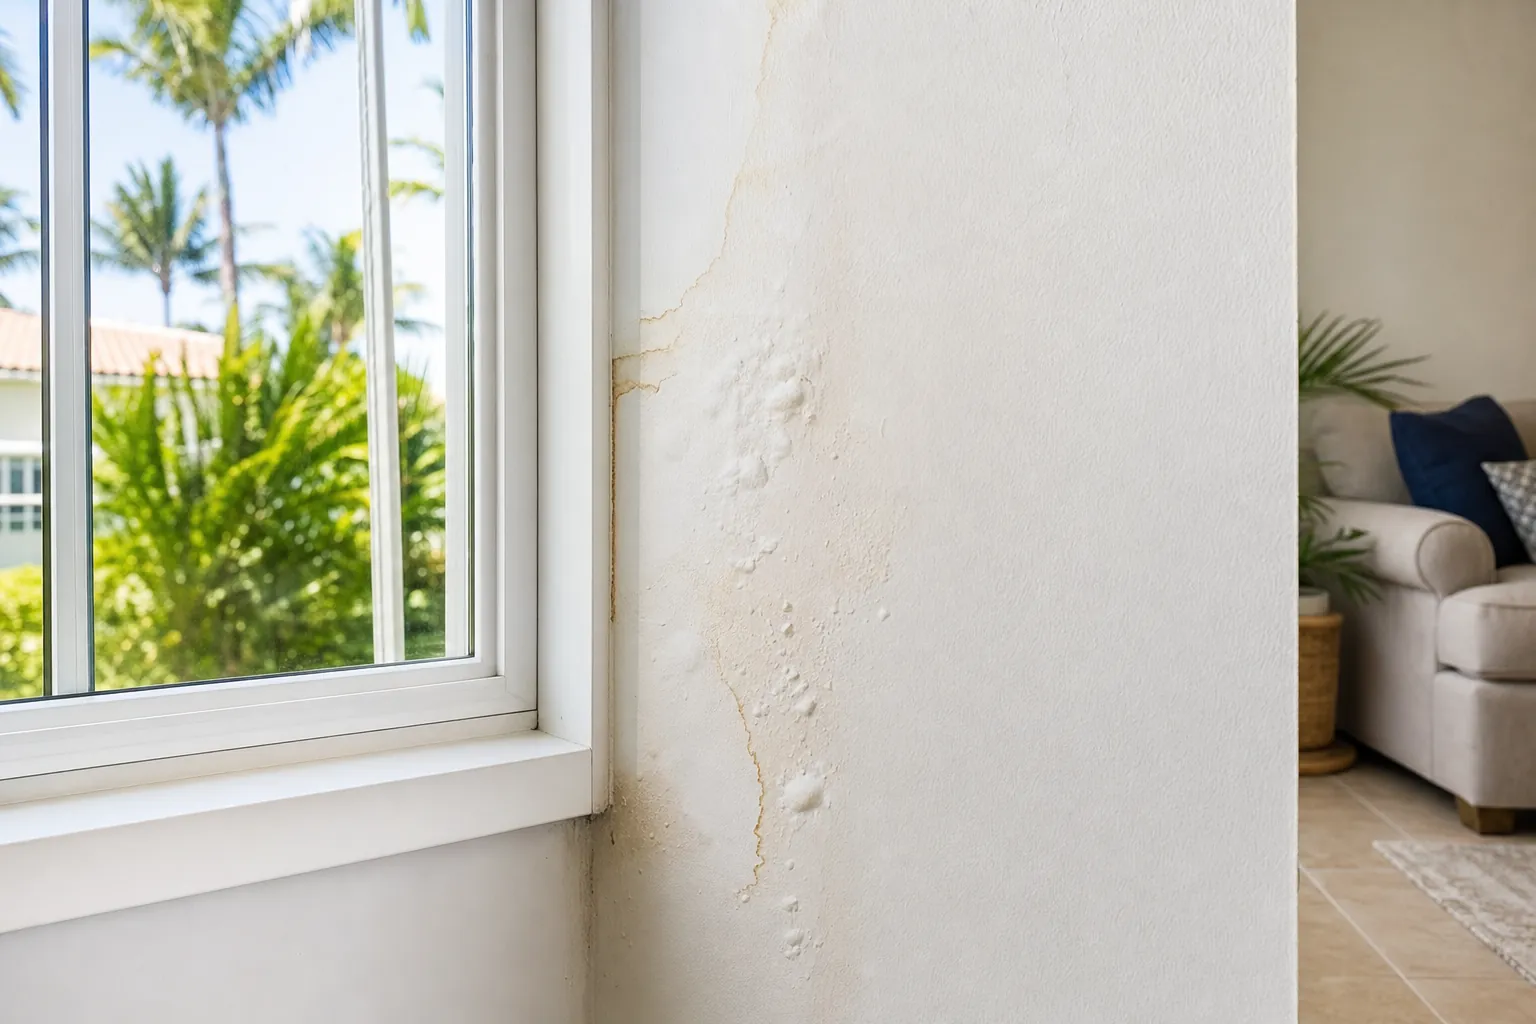
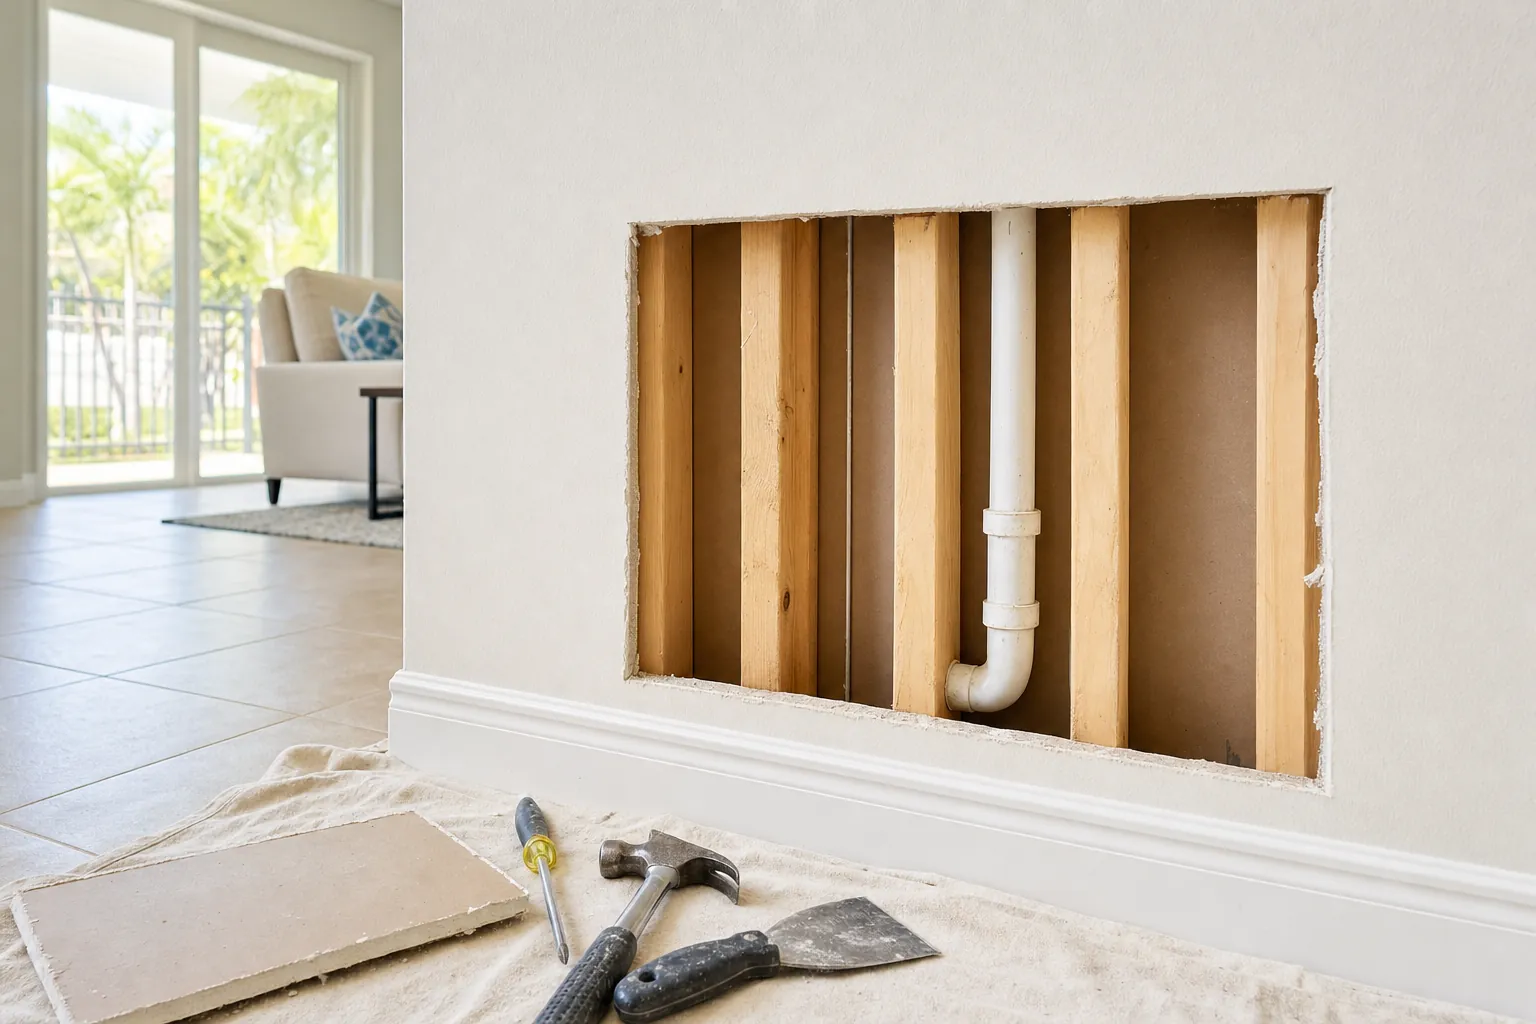
Water-damaged drywall creates two separate jobs: solve the water problem, then restore the wall. Mixing up that order is how a small leak becomes a stained patch that fails again, a musty room, or a larger repair than the homeowner expected. Once a leak, overflow, or water entry point is under control, the next question is simple: is the existing drywall still sound enough to keep?
The answer depends on what the wall absorbed, how long it stayed wet, and what is happening behind the surface. A faint stain after a one-time issue is not the same as soft drywall below a plumbing line or a sagging ceiling after a roof leak. The safest approach is to assess the material before buying paint, patching compound, or a new sheet of drywall.
Start With the Cause, Not the Stain
Before any drywall water damage repair, make sure the water source has been stopped. That might mean shutting off a leaking fixture, repairing a supply line, correcting a drain issue, addressing a roof or window leak, or dealing with condensation around an air-conditioning line. A fresh patch cannot protect a wall from water that is still entering it.
If the visible mark is new, take photos before removing trim or cutting into the wall. Then look for the pattern. A stain that darkens after a shower, rainstorm, appliance cycle, or air-conditioner run points to a source that needs attention. The site's guide to water-damage warning signs can help homeowners sort out the surface clues before a cosmetic repair begins.
Keep the area clear while you investigate. Move rugs, boxes, and furniture away from the wall so air can move and so you can see whether moisture is spreading. If water may have reached outlets, switches, or electrical equipment, do not open the wall casually. Treat that as a safety issue first.
Know When a Wall May Be Saved
Some walls can stay in place after a small, clean-water incident. The better candidates are firm drywall with a limited mark, no swelling at seams, no odor, and no evidence that moisture has continued behind the surface. In that case, the repair may be limited to drying, scraping loose finish, repairing a minor damaged area, sealing any stain, and repainting.
Do not judge only by the paint. Drywall can feel dry on the face while the cavity behind it still holds moisture. The U.S. Environmental Protection Agency advises drying water-damaged areas and items within 24 to 48 hours to help prevent mold growth. That is a reason to act promptly, not a promise that every wall is ready for repair on day two.
Keep the wall only when it is still structurally sound. Press lightly rather than forcing the surface. A wall that gives under gentle pressure, feels spongy, crumbles at the edge, has swollen paper facing, or shows a loose seam has moved beyond a simple finish repair. The goal is not to save every inch of drywall. The goal is to avoid trapping a damaged material behind a fresh coat of paint.
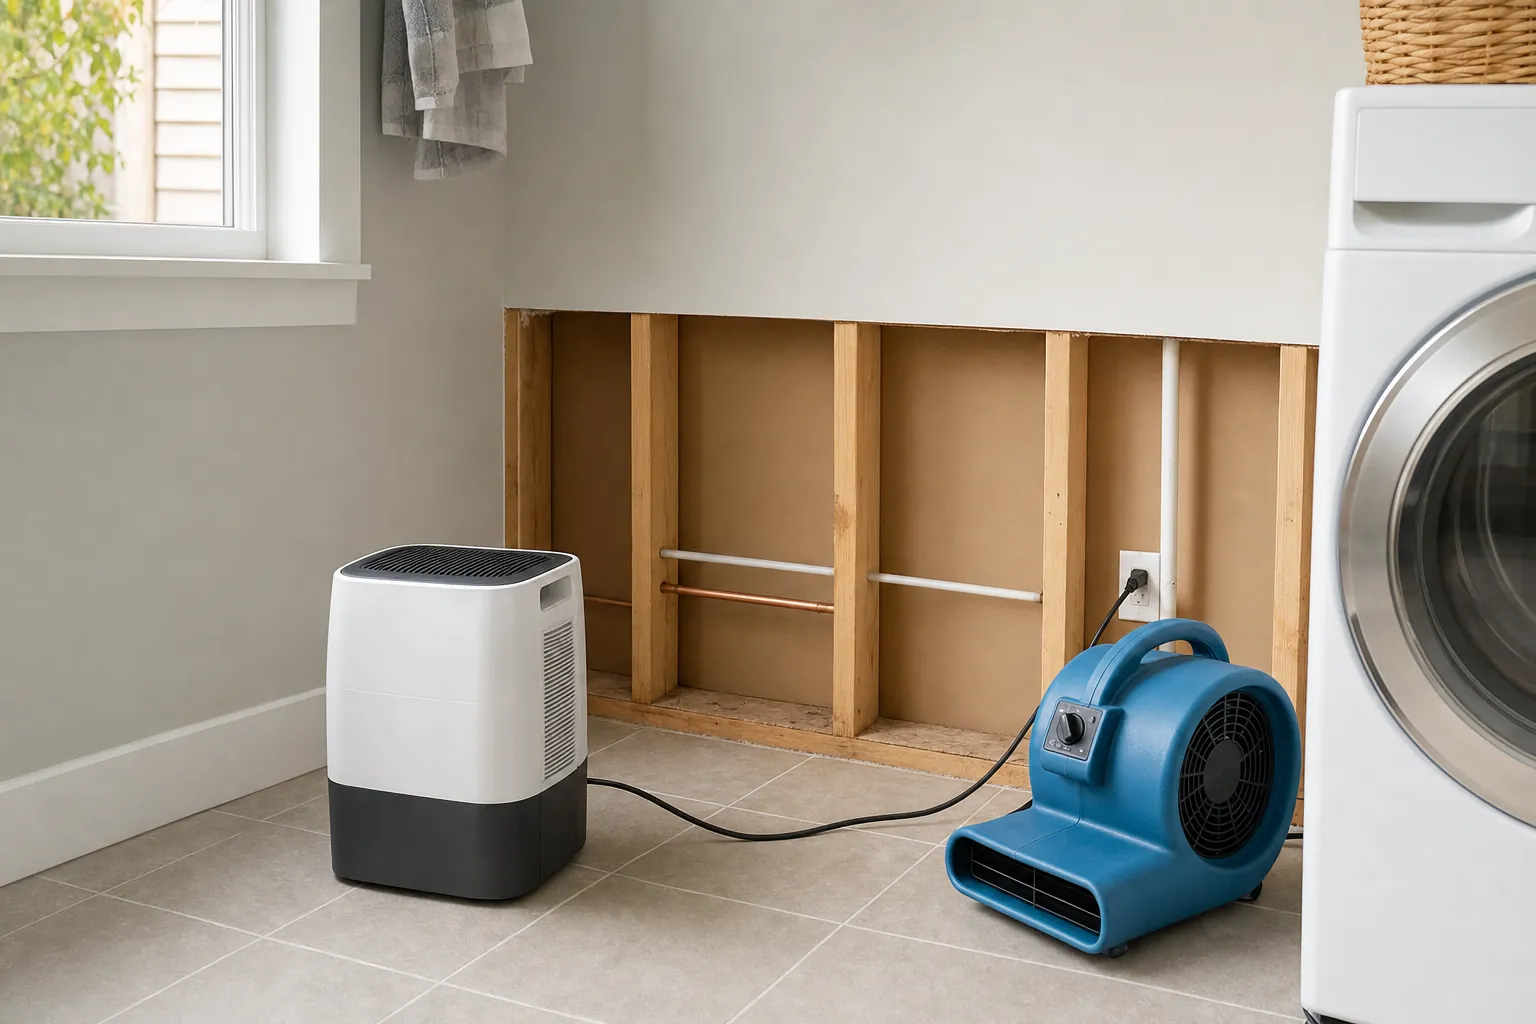
Dry the Area Before You Close the Wall
Drying is the step that makes the later repair last. Open windows only when outdoor conditions will help, use normal ventilation where it is safe, and remove wet belongings that hold moisture against the wall. A dehumidifier and controlled airflow can help in a closed-up Florida home, but they do not substitute for fixing a leak.
For an area that has been opened, the framing, insulation, and back side of the surrounding drywall need to be considered too. The EPA notes that mold can be hidden on the back side of drywall and inside walls around leaking or condensing pipes. A musty smell, recurring staining, or a wall that stays cool and damp is a reason to pause and investigate rather than immediately hang a patch.
There is no dependable visual shortcut for hidden moisture. A dryer-looking surface, a fan running for a few hours, or a weekend without a new stain does not prove the wall cavity is ready. For a minor repair, patience at this stage protects the rest of the work: joint compound bonds better, stain blockers do their job, and the repair is less likely to telegraph through the paint later.
A Quick Repair-or-Replace Check
When the source is fixed and the area has had time to dry, use the condition of the material to decide the next move. Start at the edges of the visible damage, because drywall often shows the most useful clues at seams, baseboards, and cutouts. Compare the suspect area with a nearby part of the same wall. The question is not whether the wall looks perfect yet. It is whether it still behaves like solid drywall.
- Look for shape changes. Ripples, bulges, raised tape, bowed seams, and a baseboard pulling away from the wall all suggest the board absorbed more water than a paint repair can solve.
- Check the surface gently. Firm drywall should not compress when touched lightly. Softness, a papery surface that flakes away, or a weak edge around a stain is a strong case for removing that section.
- Notice the smell and timing. A musty odor, a stain that grows after rain or plumbing use, or a repaired mark that returns means the moisture story is not finished yet.
- Inspect nearby trim and flooring. Water commonly travels downward and collects behind baseboards, at flooring edges, and in corners. A wall can look mostly fine above while the lower section needs replacement.
- Choose the smaller durable repair. When the wall is dry and sound, save the stable material. When a section is compromised, remove enough to reach solid, dry drywall rather than repeatedly patching weak paper and gypsum.
This decision is especially helpful for small leaks that were caught early. It prevents two common mistakes: tearing out sound drywall because of one cosmetic stain, and keeping damaged drywall just because it has not fallen apart yet. A careful assessment lets the repair stay contained while still addressing the part of the wall that cannot be trusted.
Replace Drywall That Is Soft, Swollen, Sagging, or Mold-Affected
Drywall is inexpensive compared with the time and materials required to rescue a compromised piece. Replacement is usually the clearer choice when the board has lost its firmness, buckled at the seams, sagged, developed visible mold, or stayed wet long enough to damage its paper facing. The cut should extend to sound material and create a clean shape that can be patched properly.
That does not mean every water mark requires tearing out an entire room. A contained repair can remove only the damaged section while preserving the rest of a wall that is dry and solid. The exact size depends on where the moisture traveled, where framing provides backing, and whether insulation or trim also needs attention. Cutting to a stud line often gives the replacement patch a stronger, straighter place to land.
Wide visible mold, a persistent moldy smell, or concern about hidden growth deserves more caution. The EPA explains that mold may be difficult or impossible to remove completely from porous materials and recommends resolving the moisture problem before painting. The Centers for Disease Control and Prevention similarly emphasizes that a home with mold needs both cleanup and the moisture problem fixed. That is why paint or caulk should never be used to cover a questionable wall and call the job done.
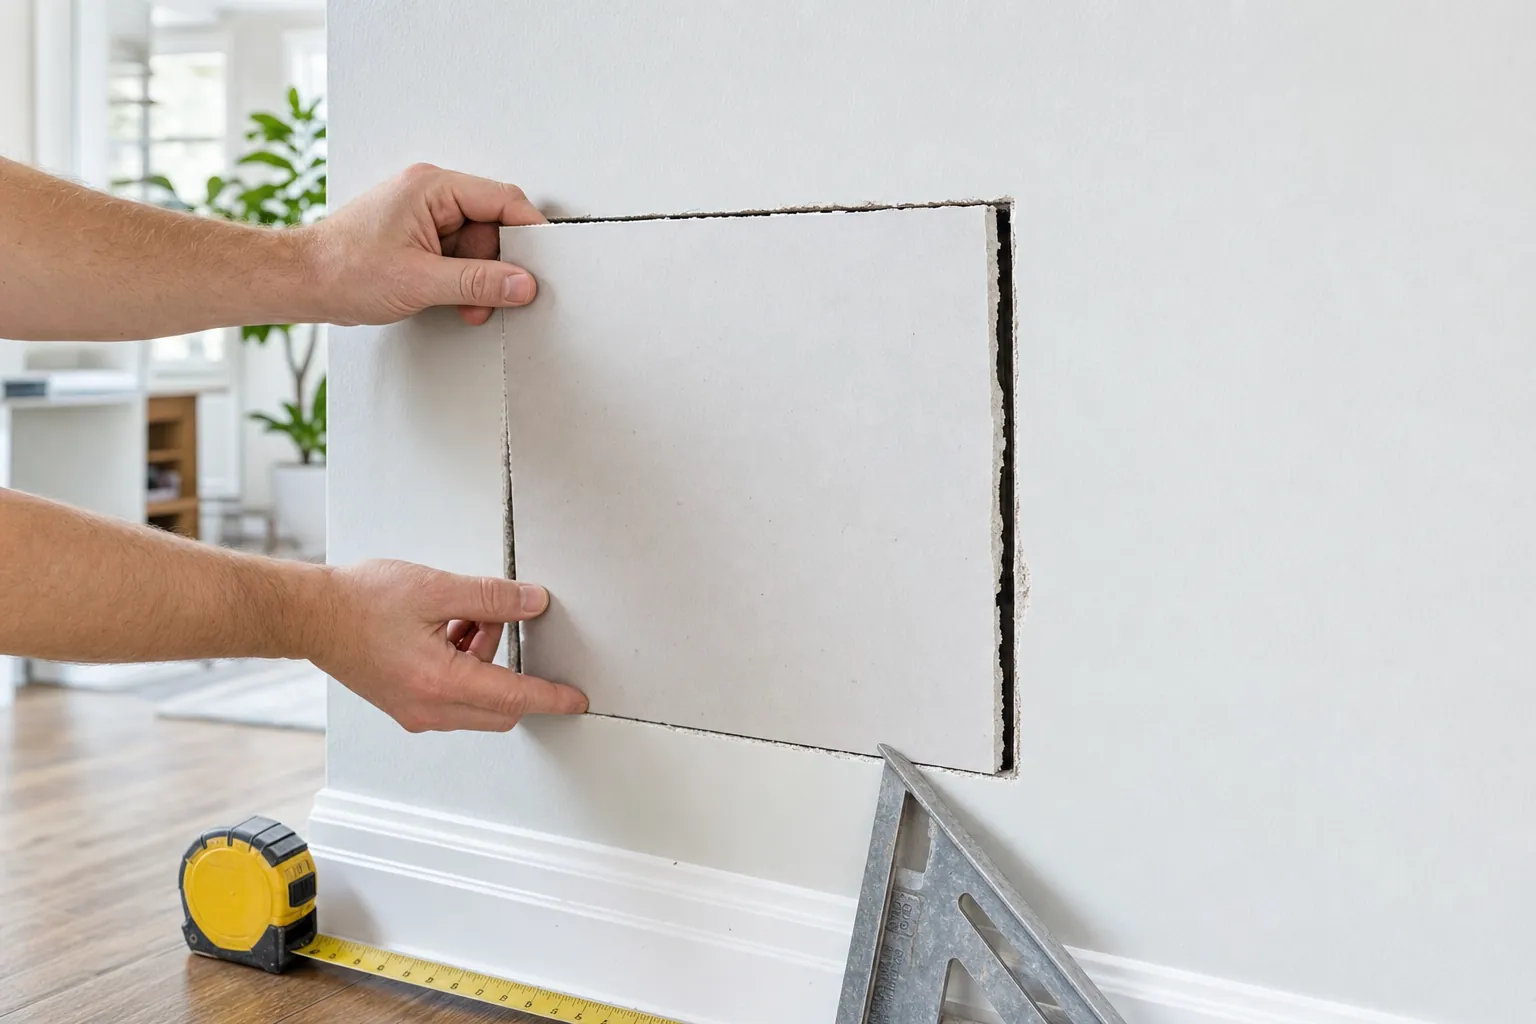
The Repair Sequence That Keeps the Patch Looking Right
- Confirm the source is corrected. Do not install new drywall below an active roof, plumbing, appliance, or condensation problem.
- Remove only the material that cannot stay. Keep the cut clean and practical, then inspect the exposed cavity for remaining dampness, damaged insulation, or signs that the water reached farther than expected.
- Install a solid patch. A patch needs reliable backing or framing, a flush fit, and fasteners placed so the finished wall does not flex.
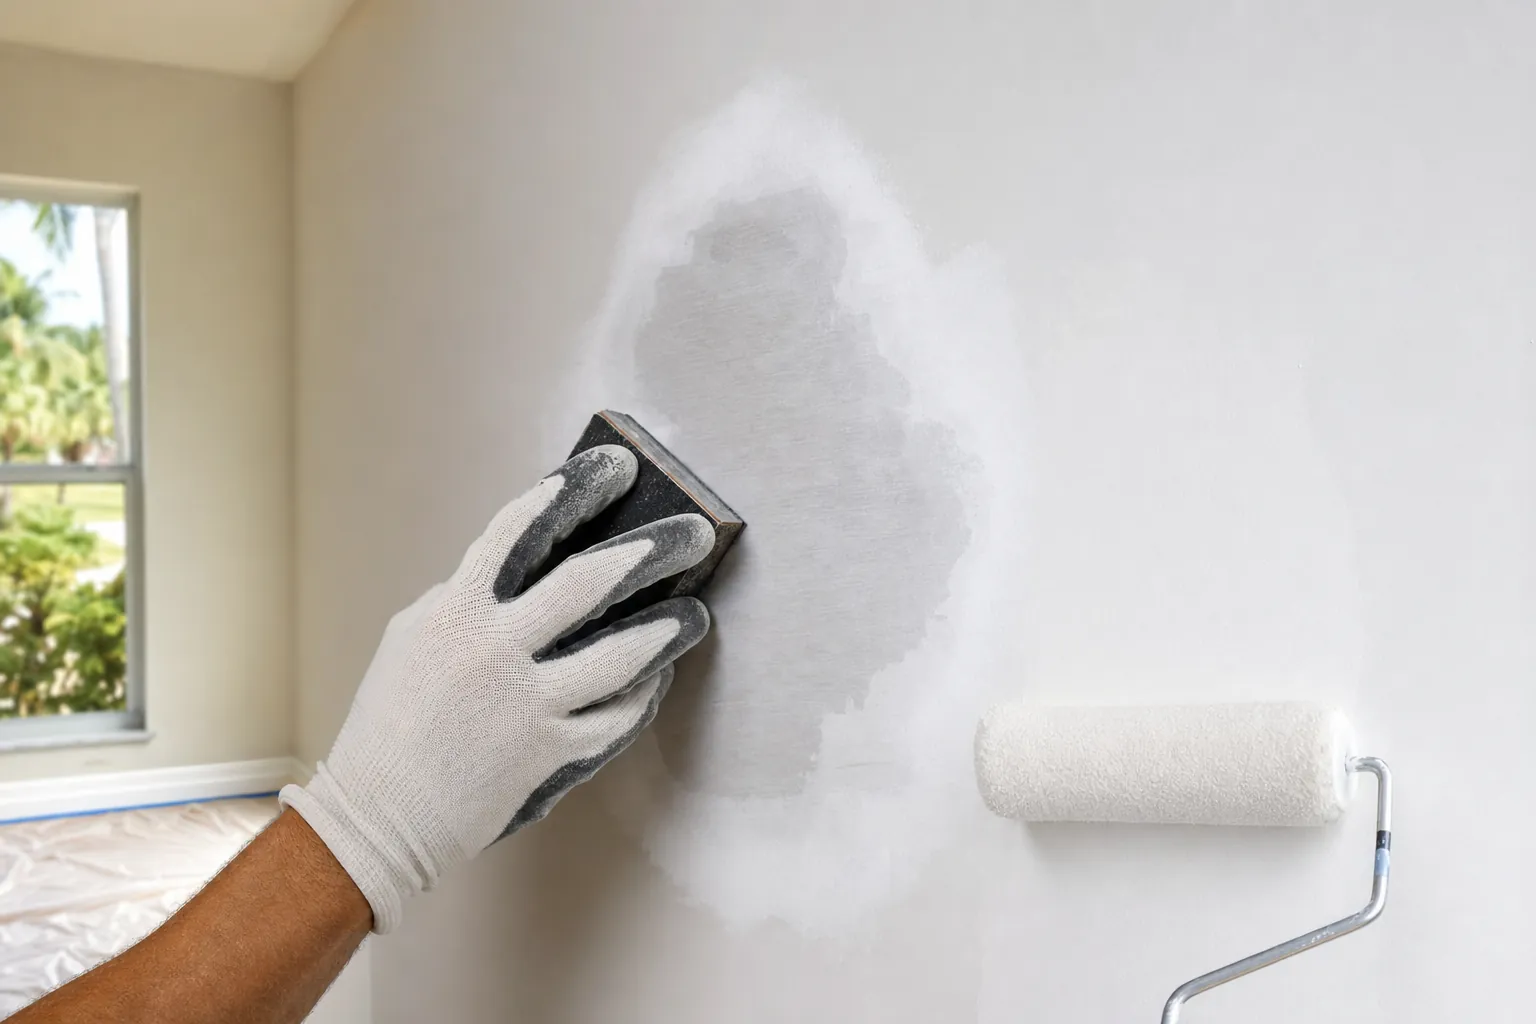
- Tape and finish the seams. Apply joint tape and compound in thin, feathered coats. Let each coat dry before sanding so the repair blends gradually instead of creating a hard ridge.
- Prime before final paint. A stain-blocking primer is useful when discoloration remains around a previously wet area. Match texture and sheen as closely as possible so the repaired area does not stand out across the room.
Homeowners often underestimate how much the finish matters. A technically solid drywall patch can still be obvious if the seam is not feathered far enough, the wall texture is ignored, or the paint sheen does not match. When the repair is in a main living area, a proper finish is what makes the wall feel normal again rather than permanently patched.
Be More Careful With Ceilings and Contaminated Water
A water-damaged ceiling is not just a wall repair turned sideways. If ceiling drywall is sagging, bulging, cracking, or holding water, keep people and furniture away from the area. Wet ceiling material can become heavy and unstable. The source may also be above the visible damage, such as a roof leak, an upstairs plumbing issue, or wet insulation in an attic or ceiling cavity.
Use the same caution when the water source may not be clean. A toilet overflow, backed-up drain, sewage issue, floodwater, or long-standing unknown leak is not a routine drywall-patch situation. The right next step is to address the water and contamination concern before planning the finish repair. That distinction protects the people working in the space as well as the materials being repaired.
For ordinary homeowner maintenance, the simplest rule is this: light staining on a dry, firm wall may lead to a contained repair; softness, sagging, mold, contamination, or an unknown source calls for a more careful assessment first. A repair that waits until the wall is ready is usually less disruptive than a repair that has to be reopened.
When Tip-Top Services Can Help
Once the moisture source has been found and resolved, Tip-Top Services can help bring the finished surface back together. That can include removing a small damaged section, fitting replacement drywall, repairing trim or baseboards, smoothing seams, preparing the wall for paint, and completing related items from the same repair list.
For a local repair visit, see the dedicated drywall repair service in Fort Lauderdale or browse the broader handyman service list. You can also look through examples of small home repairs to see the sort of practical finish work that can be grouped together. For homes in Broward County, quick attention after storms and leaks matters; the local context in the site's Florida home repair statistics is a useful reminder to keep an eye on small changes before they grow.
Need the wall repaired after the water issue is resolved?
Tip-Top Services handles practical drywall, trim, and finish repairs across Broward County and Boca Raton.
Request a QuoteFrequently Asked Questions
Can water-damaged drywall be repaired instead of replaced?
Sometimes. A small area may be repairable when the water source is fixed, the drywall stayed firm, the wall cavity is dry, and there is no visible mold or contamination concern. Soft, swollen, sagging, crumbling, or mold-affected drywall should not be treated as a simple paint-and-patch job.
How long should drywall dry before it is repaired?
There is no reliable clock that fits every leak. The source, how much water entered, airflow, humidity, insulation, and the wall cavity all matter. The important point is to repair only after the source is corrected and the affected materials are truly dry, not merely dry to the touch.
Can I paint over a water stain after a leak?
Only after the cause is fixed and the wall is dry and sound. If the drywall has softened, swelled, or developed mold, paint will not make it a durable repair. When the surface is ready, a stain-blocking primer helps prevent old discoloration from bleeding through fresh paint.
When should I avoid opening water-damaged drywall myself?
Do not treat it as a routine patch when a ceiling is sagging, electrical components may be wet, the water may be contaminated, visible mold is widespread, or the source is still unknown. Those situations need a more cautious inspection before anyone cuts into the wall.